Microsoft.Build.Utilities Assembly and Task class in TFS
We can extend MSBuild with the creation of our own custom designed tasks. Tasks help us with the custom coding that runs during the project build process. For instance, tasks include Copy, MakeDir and Csc methods.
There are two ways we can implement custom tasks.
- Derive our own class from the helper class called Task. Microsoft.Build.Utilities.dll assembly defines this helper class.
- Implement task as a .NET class with the help of ITask interface. Microsoft.Build.Framework.dll assembly defines this interface.
Microsoft.Build.Utilities contains following classes and enumerations
Classes
| Class | Description |
|---|---|
| AppDomainIsolatedTask | Provides the same functionality as Task, but also derives from MarshalByRefObject so that it can be instantiated in its own app domain. |
| CommandLineBuilder | Comprises utility methods for constructing a command line. |
| Logger | When overridden in a derived form, provides functionality for loggers that handle events raised by the MSBuild engine. |
| Task | When overridden in a derived form, provides functionality for tasks. |
| TaskItem | Defines a single item of the project as it is passed into a task. |
| TaskLoggingHelper | Provides helper logging methods used by tasks. |
| ToolLocationHelper | Provides utility methods for locating .NET Framework and .NET Framework SDK files and directories. |
| ToolTask | When overridden in a derived form, provides functionality for a task that wraps a command line tool. |
Enumerations
| Enumeration | Description |
|---|---|
| HostObjectInitializationStatus | Defines the next action for ToolTask after an attempt to initialize the host object. |
| TargetDotNetFrameworkVersion | Specifies the version of the .NET Framework to use with the methods in ToolLocationHelper. |
Example of custom task in C#:
using System;
using Microsoft.Build.Framework;
using Microsoft.Build.Utilities;
namespace MyTasks
{
public class SimpleTask : Task
{
public override bool Execute() { return true; }
}
}
Q46 Let’s imagine that we have our own CustomTaskProject.dll where we defined our custom Task called SimpleTask, we need to add this dll file to the source control under the Team Project node and only after dll is added, we can Checkout TfBuild.proj file.
Q45 After we created custom task with the help of inherited Task class we need to register it and call it in one of the targets. In order to do that we need to check out TfsBuild.proj file which can be found in the folder $/TeamProject/TeamBuildTypes/BuildName This location is created after you used “New Team Build Type Creation” wizard.

Build New Type
After we click on the “New Team Build Type” we are presented with several important steps as outlined below. First, we need to provide Build Type name. In our case, we decided to type MyTeamBuild.
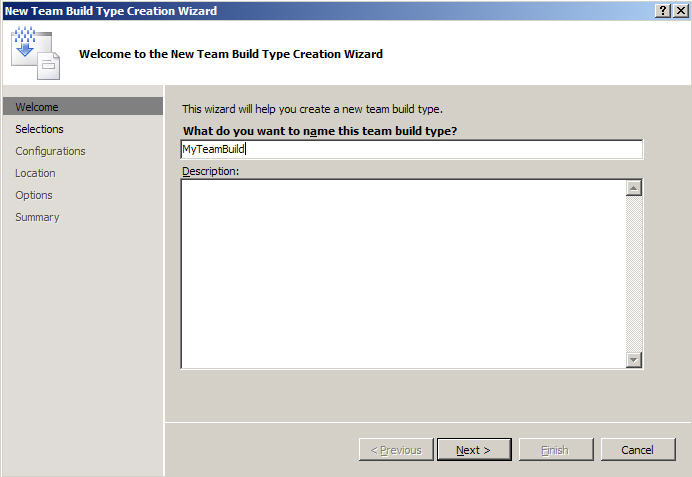
My Team Build Name
We then presented with the several choices of available projects within our Visual Studio. For instance, we may decide to build two projects one after the other or just one. In our case, we selected only one, the first one.
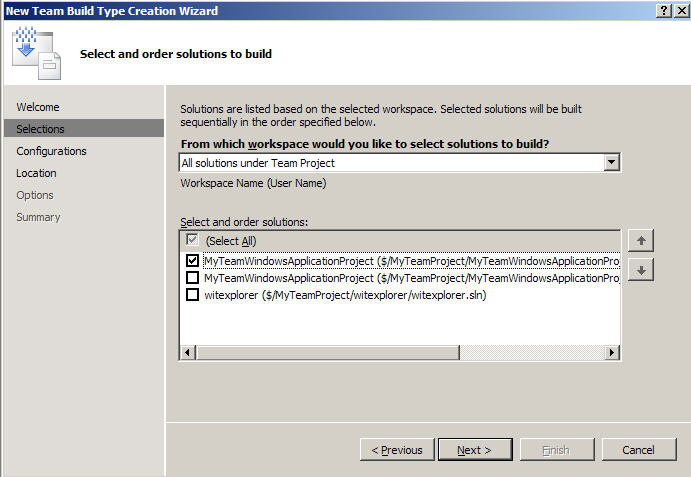
My Team Build Solution
Configuration section of our Wizard prompts us to select if we are building project of release or debugging. As a result, two modes are available: Release, Debug. We selected Release option and we are building our project for Any CPU types.
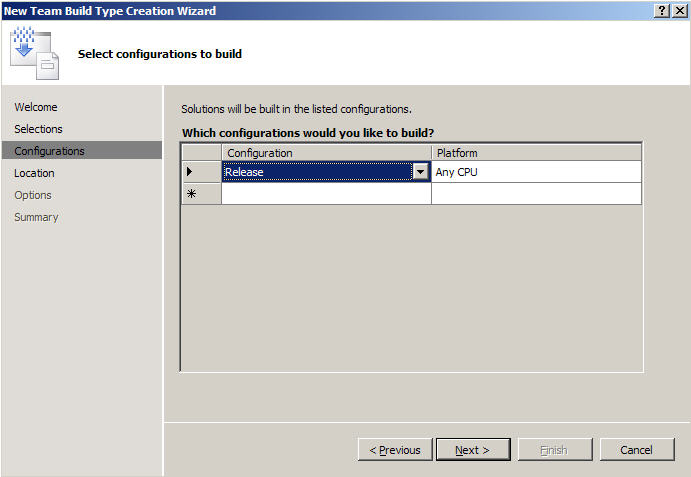
My Team Build Configuration
We also need to determine our build locations. TFS Build process builds and deploys files at a same time. As a result, location information is required. We need to know Build Directory and Drop Location.
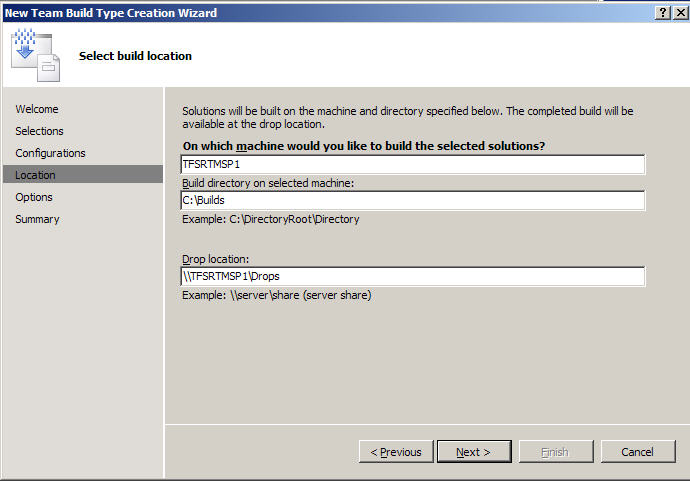
My Team Build Location
One more step before we can review our build is to set any additional options for the Build. We can run tests or perform a code analysis on the project files that we are building. We’ll skip these options for now.
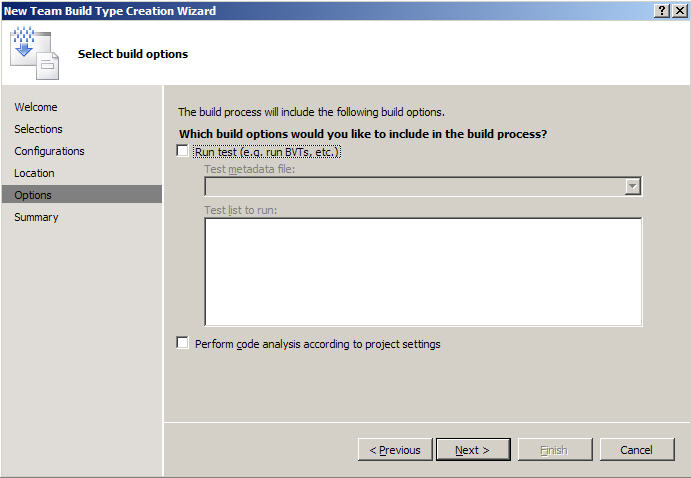
My Team Build Options
Confirmation screen is just another chance to review before we start our build process.
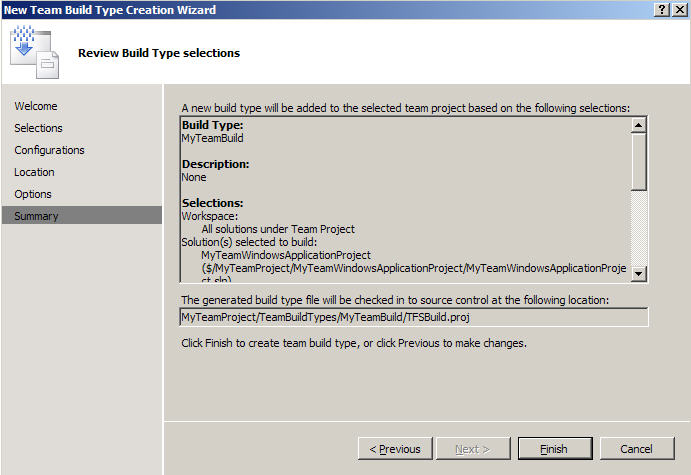
My Team Build Summary
It takes several minutes, but really depends on the size of the project. If you project is large then you may kick off builds every night. This Build will also be stored for future references in the folder called Team Builds. This is important to remember since this is where we are going to go in order to customize build with our own tasks.
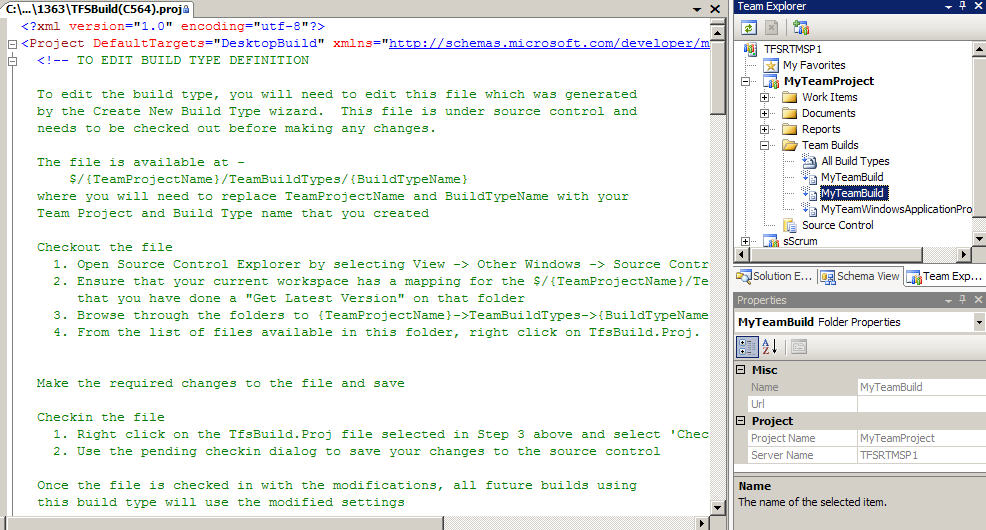
My Team Build Result
In order to register our task we need to specify it in a UsingTask element in the TfsBuild.proj file which is located in our TeamBuild folder. In our case folder location is C:\MyTeamBuild\MyTeamProject\MyTeamWindowsApplicationProjectBuild\BuildType
UsingTask element actually maps our task to the assembly with this task implementation.
<UsingTask TaskName="MyTasks.SimpleTask" AssemblyFile="c:\somediskpath\MyAssembly.Build.Tasks.dll"/>
Q47 Next step after the registration is to specify the point in the build process at which we need to run our task. We accomplish this with the help of Target element within our TfsBuild.proj file. For example, we can run our SimpleTask before the Get target element.
<Target Name="BeforeGet"> <SimpleTask /> </Target>
Now we are ready with our custom task and we should save and close the file called TfsBuild.proj. Finally, we must check in all our changes in order for them to take affect which does copying all of these changes into Build directory.