Creating Team Foundation Server Team Project
Team Foundation Server allows creation of the portal project via TFS Portal Creation Wizard. This Wizard can be started from the menu item “File” ⇒ “New” ⇒ “Team Project”
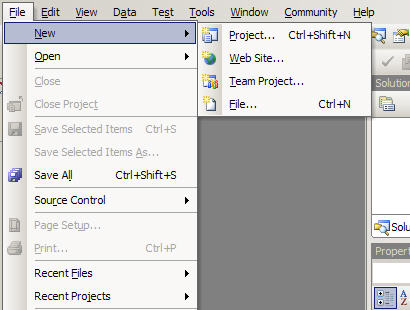
New Team Project
Actually, it is simple to create Team Project. However, you need to plan how to create it very carefully since you are setting up the project management paradigm for the entire team or organization. As a result, you should treat setting up Team Project Portal as its own project with the scope document, vision statement and etc… Microsoft provides a very good outline of how this should be done on their website at Planning a Team Project
In order to proceed with the installation steps, you need to make sure that you have sufficient permissions on the server. More specifically you need to be a member of Team Foundation Administrators security group or at least have rights to View server-level information and Create new project.
The first screen that comes up after you selected New Team Project is Server connection screen where you are prompted to select your server name.

Connect to TFS
After you press OK button on the Connect to Team Foundation Server pop-up, you will be presented with another screen where you need to provide Team Project name.
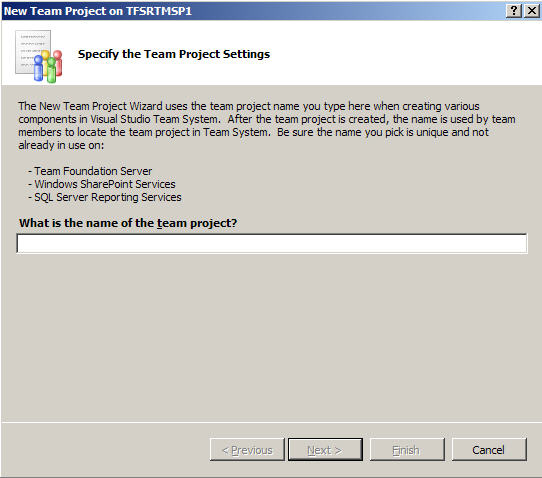
Team Project Name
After we filled in text box with our Team Project name, we are given several choices for selecting Process Templates. This is very important step and that where you planning should help you out with your choices. For instance, we can select MSF Agile process template, MSF CMMI process template or SCRUM. There are quite significant differences between two of them.
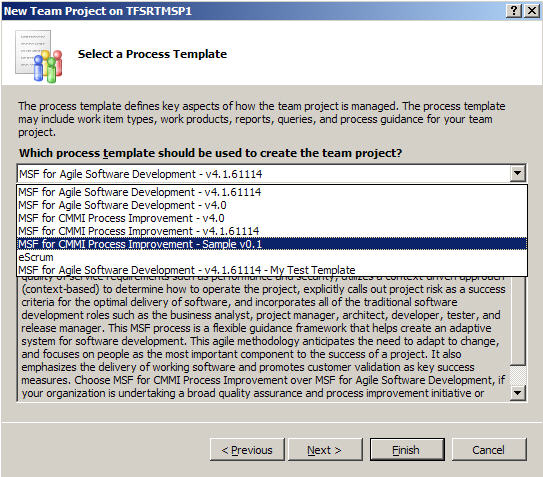
Process Template
Next step is to provide additional information for the project we are tying to create and review our prior selections. If everything is satisfactory on this Review screen, we can go ahead and press Finish button that will kick off process of installing Team Project Portal on our server based on the selected Process Template.
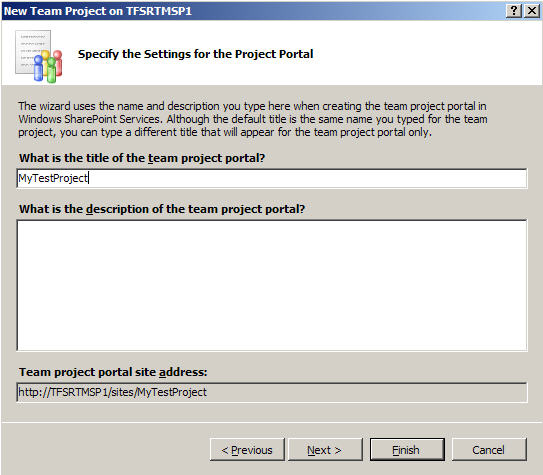
Project Protal Settings
In case you decide to proceed with further Team Portal configurations, you need to select Next that takes you to the Source Control Settings page where you can create source control folder, select source control branch or ignore these two steps.
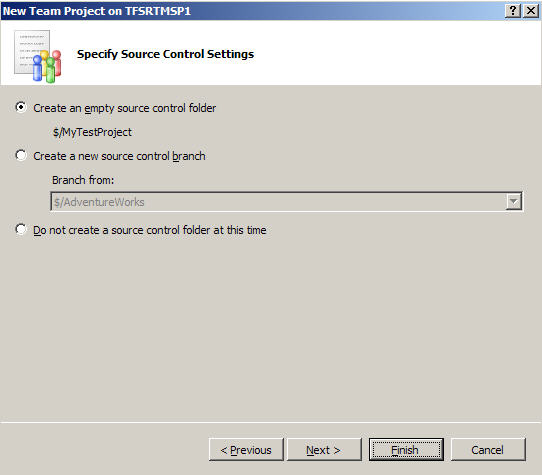
Team Project Source Control
Finally, you will see Confirmation Page with all the choices you have selected during this Wizard. You may review for accuracy and if everything is OK just press “Finish” button that will start project creation process. It will take several minutes and you have to wait until project is fully installed on your computer.
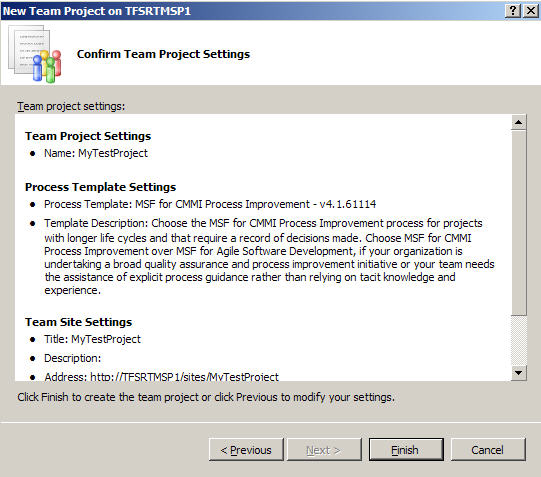
Team Project Confirmation